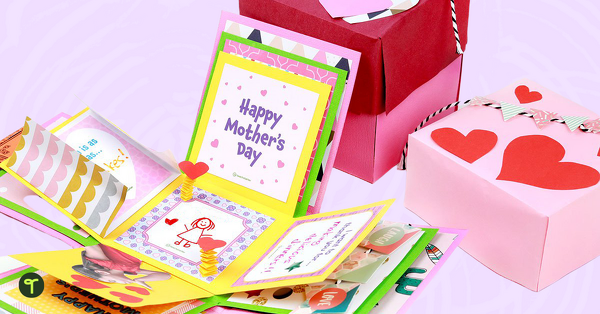
Are you on the hunt for a unique Mother’s Day craft activity that your students can create for their moms or maybe just someone who is special to them? It can be a challenge to come up with a Mother’s Day craft idea that is different, allows your students to add their own touches, and helps your students develop their skills. Until now…
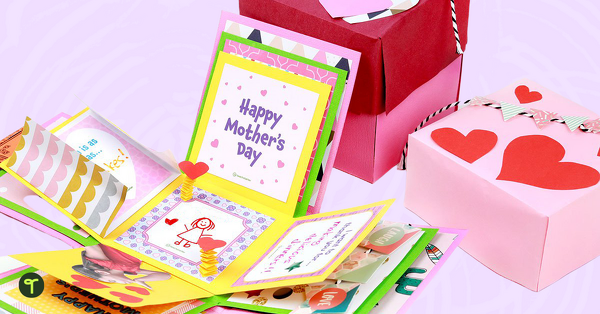
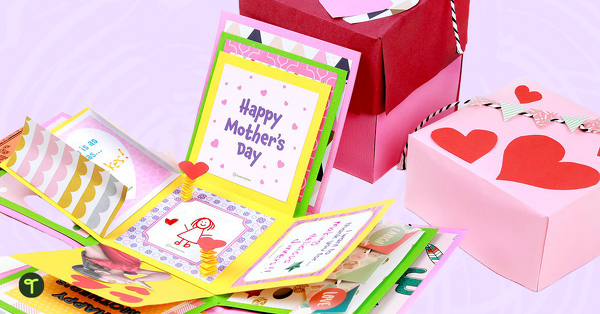
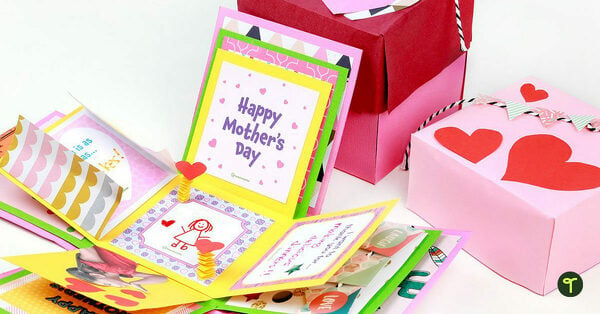
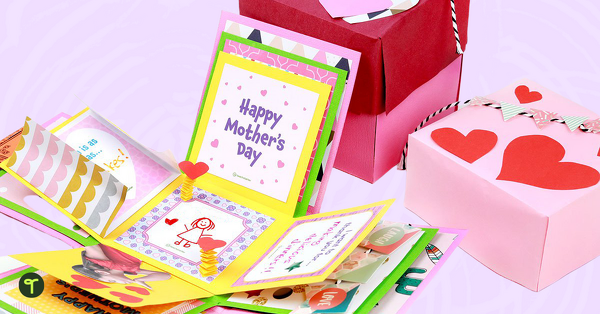
Introducing the Mother’s Day Exploding Gift Box!
Don’t be scared. These explosions are all about love. We have a simple plan for how you can easily do this in your classroom with students of most ages, giving students a chance to practice their fine motor skills, measuring with a ruler, writing, and more!
How to Make a Mother’s Day Exploding Gift Box
Firstly, you’ll need to download and print out our Mother’s Day Decorative Square Templates.
This printable template includes a variety of plain frames and sentence starters. Students can pick and choose which they want, depending on if they are giving this to their mom or another special person in their lives.
How Long Does it Take?
To build up this surprise box there are three different levels.
You can get your students to measure, cut and decorate one layer a day. That way it doesn’t end up taking too long to create the box from scratch!
STEP 1: The First Layer
To create the first layer:
- Cut out a square that measures 11.8 inches x 11.8 inches
- Using a ruler (put those measuring skills to work!) divide the larger square to create a grid with smaller squares measuring 3.9 inches x 3.9 inches.
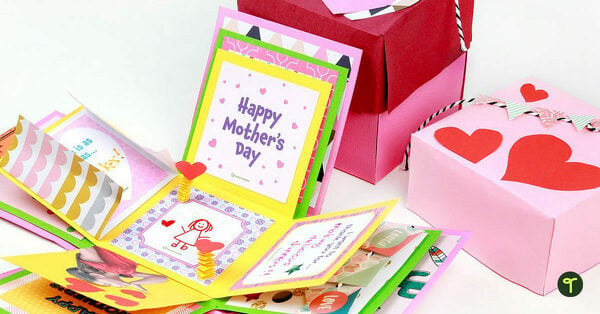
- Cut out each corner square to create a plus sign (like the image below)
- Decorate each of the squares — except the middle square.
We used a book of scrapbooking paper for the first layer, but you could also get your students to use stickers or draw their own designs to add some extra detail to this first layer.
STEP 2: The Second Layer
For the second layer, we have added a bit more detail.
Measurements for the second layer are:
- 10.6 inches x 10.6 inches for the large square
- 3.5 inches x 3.5 inches for the smaller squares.
We have also created a mini Mother’s Day coupon book that could be added to this layer in a little mini envelope!
Download our printable Mother’s Day coupon book on colored paper, or have your students color in the pattern.
We glued scrapbooking paper on each square first and then our Mother’s Day Decorative Square Templates. This creates a really fun, decorative effect!
STEP 3: The Third Layer
For the third layer, we used two strips of paper rather than a square piece of paper. (This is also an alternative to using large square pieces of card for each layer!)
To create the third layer,
- Cut two strips of paper measuring 3.1 inches x 9.4 inches.
- Use a ruler to divide each strip into three 3.1 inches x 3.1 inches squares
- Glue together the middle square of each strip.
This creates the smallest plus sign for the final layer of this fun project.
This is the top layer, so you will need something in the middle square. You can even add some height to this one as it will be the middle of the box!
STEP 4: Constructing the Box
Now that you have three completed plus sign-shaped layers, it’s time to piece them all together! Make sure the decorative side is facing up. You may like to check out the video below for extra support in explaining this step.
- Place the first (largest) layer face up on the table and fold up the outside squares.
- Stick strips of double-sided tape around the edges of the center square.
- Place the center square of the second (middle) layer on top of the double-sided tape, ensuring the strips line up (so it still resembles a plus sign).
- Repeat steps 1 to 3 for the next layer until the box has been built!
STEP 5: The Exploding Gift Box Lid
To ensure that all the moms or special people get a lovely surprise upon opening this surprise gift, a lid needs to be made. Don’t worry; we’re almost there…
- Cut a square piece of paper that is 8.1 inches x 8.1 inches.
- Using a ruler, divide the square into a grid with the middle square measuring 4inchs x 4inches.
- Cut along the ruled lines, from the edges of the paper to the corners of the middle square. You only need to cut one line for each corner. Use the video above as a reference for which lines to cut.
- Fold all of the ruled lines.
- Put glue on the smaller square ‘tabs’ created by the cuts and folds.
- Tuck the tabs into the long, rectangle sides of the lid.
- Decorate!
Tips for Younger Students
For younger grades, you may like to have each layer already measured and cut, so all they have to do is decorate how they want.
Older students could absolutely follow the steps for each layer and do the whole craft activity.
For more awesome Mother’s Day craft ideas check out our Mother’s Day Teaching Resource collection.
The post The Ultimate Mother’s Day Craft Idea: Exploding Gift Boxes appeared first on Teach Starter.

